How to Geotag Photos Manually: A Step-by-Step Tutorial
Manual geotagging is the process of adding GPS coordinates to a photo that has no location data. Photos taken with GPS disabled, transferred through messaging apps, or captured with cameras without GPS receivers all lack embedded location information. Manual geotagging solves this by letting you add precise coordinates after the photo is taken.
Why Would You Need to Geotag Photos Manually?
Manual geotagging is necessary when a photo has no embedded GPS data or when the existing location data is incorrect. There are four common situations where manual geotagging is required.
GPS was disabled during capture. Many users turn off location services on smartphones for privacy or battery reasons. Photos taken with location services disabled contain no GPS coordinates in their EXIF metadata.
Messaging apps stripped the metadata. WhatsApp, Telegram, and most messaging platforms remove EXIF data from images during transfer. A photo received through WhatsApp has no GPS coordinates regardless of the original file.
The camera has no GPS receiver. Most DSLR and mirrorless cameras do not have built-in GPS modules. Every photo from these cameras requires manual geotagging or a separate GPS logging device.
The location needs to change. Business owners geotagging product photos for local SEO need to embed their business coordinates, not the photographer’s studio location.
How to Geotag Photos Using an Online Tool?
The fastest method to geotag photos manually is using a free online geotagging tool. No software installation is needed. The entire process runs in your browser.
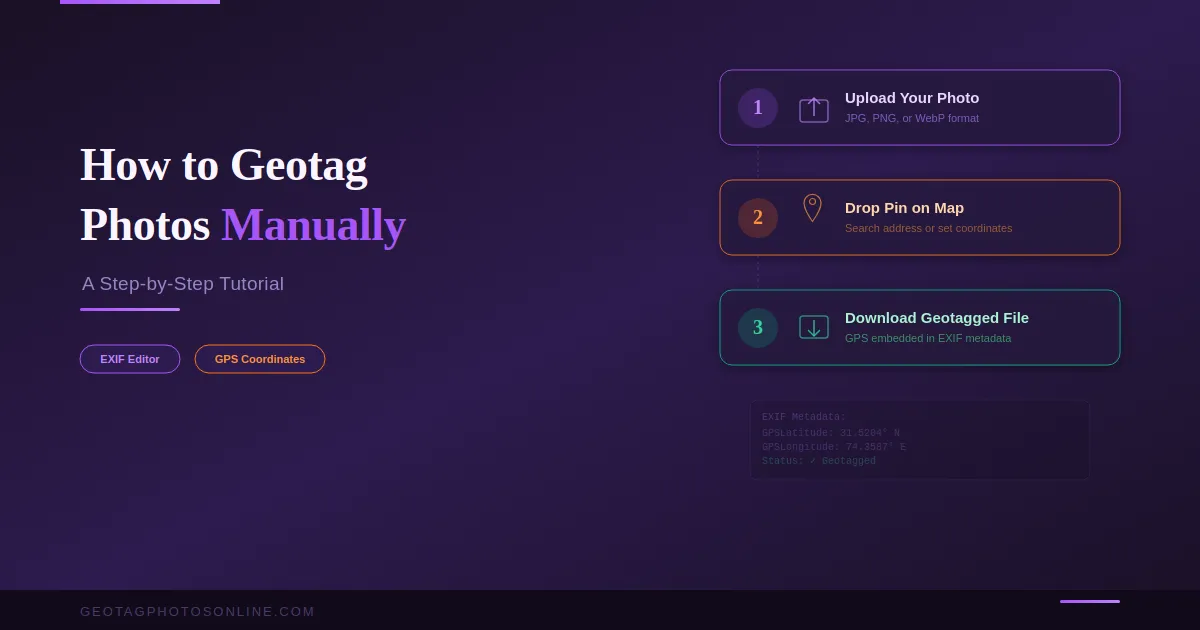
Step 1: Upload your photo. Go to GeoTagPhotosOnline.com/tool and upload one or multiple images. The tool accepts JPEG, PNG, and WebP formats.
Step 2: Set the location. Search for an address in the search bar or click directly on the map to drop a pin. The tool displays the latitude and longitude coordinates for the selected point. Adjust the pin position until it matches your target location precisely.
Step 3: Download the geotagged image. Click download. The tool embeds the selected GPS coordinates into the photo’s EXIF metadata and returns the processed file. The downloaded image now carries the location data permanently.
For multiple images, upload the entire batch, set one location, and apply it across all files. Download the geotagged batch in a single click.
How to Geotag Photos on Windows?
Windows File Explorer does not support adding GPS coordinates to images. To geotag photos on Windows, use a dedicated application.
GeoSetter is a free Windows tool that reads and writes EXIF location data. Import photos, select a location on the built-in map, and save coordinates to the files. ExifTool is a command-line utility for advanced users that can write GPS data to individual files or entire folders in a single command.
How to Geotag Photos on Mac and iPhone?
On Mac, Apple Photos allows adding location data to any image. Open the photo, click the info panel, and select “Add a Location.” Type a place name, confirm the selection, and the app writes the coordinates to the file.
On iPhone, the process is identical. Open the photo in Photos, swipe up to reveal the info panel, and tap “Add a Location.” Adobe Lightroom offers the Map module for geotagging on both Mac and Windows, supporting drag-and-drop placement on a map.
How to Geotag Photos on Android?
Google Photos on Android supports manual location tagging. Open the photo, tap the three-dot menu, select “Edit,” and tap “Add a Location.” Choose from suggested places or search for a specific address. Google Photos writes the location data to the image file.
For bulk geotagging on Android, transfer the images to a computer and use an online geotagging tool. Mobile apps process images one at a time, which is inefficient for large batches.
What Image Formats Support Geotagging?
JPEG is the standard format for geotagging. The EXIF specification for storing GPS coordinates is fully standardized for JPEG files. Every metadata reading tool and platform can read geotags from JPEG images.
PNG and WebP files can store GPS data through non-standardized EXIF extensions. Not all software reads geotags from these formats reliably. For maximum compatibility, convert images to JPEG before geotagging when the use case requires universal metadata support.
HEIC files, used by iPhones since iOS 11, store GPS data in the same EXIF GPS IFD fields as JPEG. Native Apple tools read HEIC geotags correctly, but third-party compatibility varies.
How to Verify That a Photo is Geotagged?
After geotagging, verify the embedded coordinates by checking image properties. On Windows, right-click the file, select Properties, and check the Details tab for GPS data. On Mac, open the file in Preview and use Tools > Show Inspector to view the GPS tab.
For a quick online check, re-upload the geotagged image to your geotagging tool. The tool reads existing EXIF data and displays stored coordinates on the map.
Manual geotagging takes under two minutes per image with an online tool and under one minute per image with desktop software in bulk mode. The key is choosing the right method for your workflow. Online tools work best for quick, occasional geotagging. Desktop applications suit large-volume processing. Mobile apps handle single-image edits on the go.
Start geotagging your photos now — upload, pin, download. Free and unlimited.